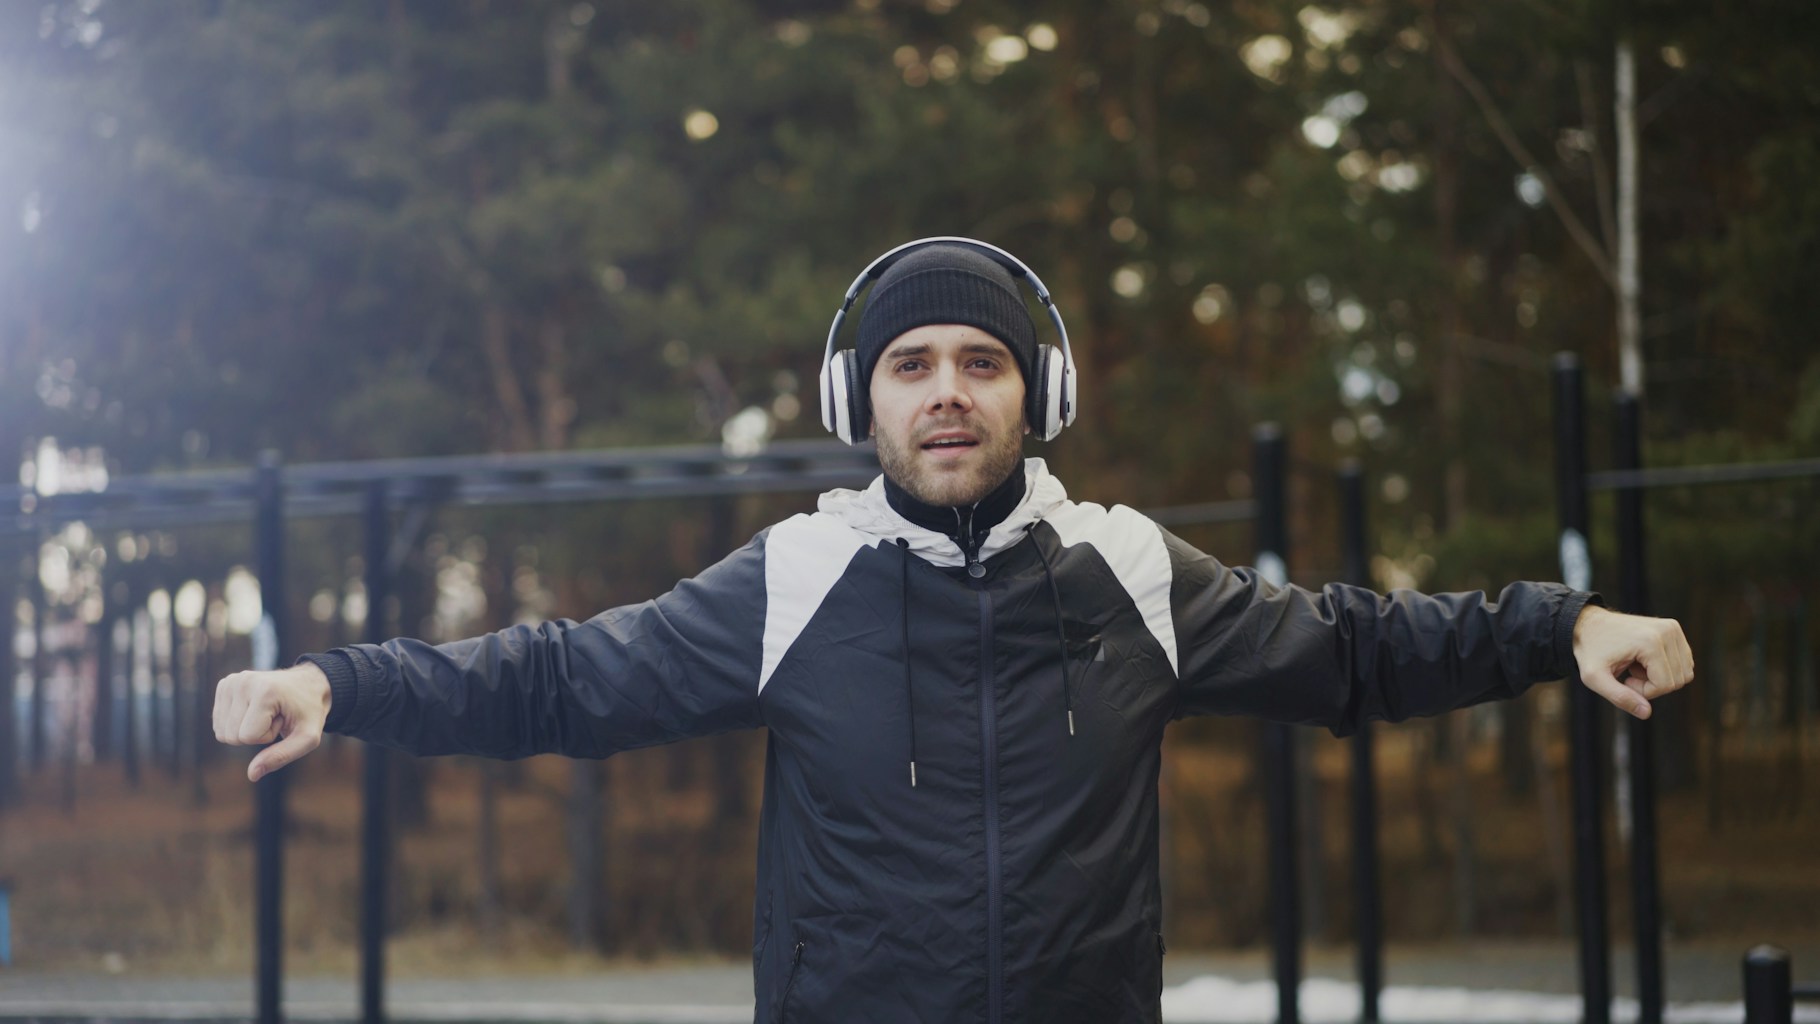
I've treated hundreds of squash players over the past decade—from recreational weekend warriors to competitive athletes vying for national rankings. If there's one pattern I've noticed, it's this: most injuries don't happen during a match. They happen during warm-up.
The warm-up is where your body prepares for explosive movement, rapid deceleration, and lateral loading. When it's done wrong, you're basically lighting a fuse for injury. Here are the five mistakes I see most often—and exactly what to do instead.
Mistake #1: Static Stretching Before Intensity
The problem: Static stretching before high-intensity activity reduces your nervous system's ability to generate force. You're essentially telling your muscles to relax right before you need them to fire hard.
What to do instead:
- Perform 5-10 leg swings per leg (forward/back, side-to-side) — primes hip flexors and extensors
- 10-15 bodyweight squats at moderate pace — activates quads, glutes, core
- 10 walking lunges — engages hip flexors and extensors dynamically
- 8-10 arm circles (forward and backward) — prepares shoulder girdle for explosive rotation
- 30 seconds of light jogging or bouncing — elevates heart rate without fatigue
Dynamic warm-ups trigger post-activation potentiation (PAP)—your nervous system becomes primed to generate more force after activation, so you'll actually perform better after proper dynamic prep than if you skipped it.
Save static stretching for after your match when you're cooling down and actually want to improve flexibility.
Mistake #2: Not Warming Up Your Rotational System
The problem: Squash is a game of rotation. Your body rotates to generate power, reach shots near walls, and create stability when moving laterally. Without rotational activation, your body compensates—lower back takes stress, shoulder becomes unstable, knees collapse inward.
What to do instead:
- World Rotations (standing, feet shoulder-width apart): 8-10 rotations each direction, gradually increasing range of motion — activates core stabilizers and thoracic spine. Watch: World Rotations
- Cat-Cow Stretch (quadruped position): 8-10 slow cycles, emphasizing spinal extension and flexion — primes thoracic mobility. Watch: Cat-Cow Stretch
- Quadruped Hip Rotations (hands and knees): 8 rotations each side, moving knee in wide arc — opens hip external rotators. Watch: Quadruped Hip Rotations
- Lunge Twist (forward lunge position, rotate torso to inside leg): 8 per side — combines hip opening with core rotation. Watch: Lunge Twist
- Open-Book Stretch (side-lying, rotate upper body): 8-10 per side — opens chest and mobilizes thoracic spine
Time: 90 seconds total. This fundamentally changes how your body is prepared for rotational demands.
Mistake #3: Ignoring Your Feet and Ankles
The problem: Your feet are your foundation. Yet most warm-ups completely ignore feet and ankles. Result: ankles aren't ready for rapid direction changes, you plant sub-optimally, your ankle inverts, you create microtears in lateral ligaments. Or your arch flattens on landing, your knee collapses inward, and you've created knee pain that lingers for weeks.
What to do instead — Controlled Articular Rotations (CARs):
CARs are a neuromuscular priming technique that teaches your nervous system to control movement through your ankle's full range of motion. They activate intrinsic foot muscles, improve proprioception, and create stability before explosive movement.
Why CARs work: Your nervous system maps movement potential. CARs essentially tell your brain "here's the full range of motion available at this joint, and here's how to control it." This neural priming creates end-range stability—which is exactly what you need when you plant and pivot in squash.
How to perform ankle CARs:
- Stand on one leg, knee slightly bent
- Lift your other foot slightly off the ground
- Draw the largest circle possible with your ankle, moving through all planes of motion (forward, side, back, side) — 8-10 circles
- Move slowly and deliberately, trying to maintain control throughout
- Reverse direction — 8-10 circles the opposite way
- Repeat on other ankle
Watch: Ankle CARs Demonstration
Additional ankle activation:
- 30 seconds single-leg balance (eyes open) per side — engages proprioceptors
- 10 lateral shuffles each direction — activates foot intrinsics and proprioception
Time: 2-3 minutes. This is non-negotiable if you want ankle stability in squash.
Mistake #4: Starting Intense Too Quickly
The problem: You arrive at the court, jog around, do a few practice swings, then immediately hit hard rallies. Your cardiovascular system, musculoskeletal system, and nervous system need a progression to high intensity—typically 10-15 minutes.
What to do instead — The Progression:
Phase 1: Gentle Movement & Mobility (2-3 minutes)
- Light jogging around perimeter
- Dynamic stretches (leg swings, arm circles)
- Joint rotations (ankles, hips, shoulders)
Phase 2: Dynamic Activation (3-4 minutes)
- Bodyweight squats (15 reps)
- Walking lunges (10 per side)
- World rotations and rotational stretches
- Ankle CARs and ankle mobility work
- Glute bridges (15 reps) — critical for squash stability. Watch: Glute Bridges
Phase 3: Light Technical Work (3-4 minutes)
- Easy practice swings (forehand and backhand) — 10-15 total
- Slow footwork drills (small circles, lunges with control)
- Movement at 50% intensity
Phase 4: Progressive Intensity (5-7 minutes)
- Gradually increase speed of footwork
- Gradually increase pace of ball striking
- Build to match intensity over several minutes, not all at once
This progression takes 13-18 minutes total. It's the difference between playing pain-free and dealing with injuries.
Mistake #5: Not Addressing Your Individual Neuromuscular Activation Needs
The problem: This is the most critical mistake. Every body is different. A generic warm-up doesn't account for your unique movement patterns, history, and weaknesses.
If you have a history of ankle inversion injuries, you need different ankle activation than someone with pristine ankles. If you have tight hip flexors (desk worker), your hip needs different prep than an athlete with natural mobility. If you've had shoulder issues, your shoulder girdle needs specific stability work before explosive rotation.
Most players do the same generic warm-up every time, never addressing their specific neuromuscular needs. This is why some players get repeatedly injured while others stay healthy despite identical training loads.
What to do instead — Clinical Movement Assessment:
1. Identify Your Weak Links
- Do you have a history of ankle injuries? → Priority: ankle stability and proprioception
- Do you sit all day? → Priority: hip flexor length and hip external rotation
- Do you have shoulder pain or tightness? → Priority: thoracic mobility and shoulder external rotation
- Do you have knee pain? → Priority: glute activation and hip stability
- Do you have lower back pain? → Priority: core stability and hip stability
2. Build Your Personal Activation Protocol
Once you've identified your weak links, add specific activation work targeting those areas.
Example 1: Chronic Ankle Instability
- 3-4 minutes: Ankle CARs (both ankles)
- 2 minutes: Single-leg balance work
- Total add-on: 5-6 minutes
Example 2: Tight Hip Flexors (Desk Worker)
- 2 minutes: 90/90 Hip Stretch (2 sides). Watch: 90/90 Hip Stretch — opens hip flexors and external rotators
- 2 minutes: Glute activation (bridges, clamshells)
- Total add-on: 4-5 minutes
Example 3: Shoulder Mobility Restrictions
- 2 minutes: Thoracic rotations (world rotations + open-book stretches)
- 2 minutes: Shoulder external rotation work (band pull-aparts, arm bars). Watch: Band Pull-Aparts
- Total add-on: 4-5 minutes
Example 4: Chronic Knee Pain
- 2 minutes: Glute activation (glute bridges, single-leg bridges)
- 2 minutes: Hip stability (clamshells, lateral band walks). Watch: Lateral Band Walk
- Total add-on: 4-5 minutes
3. The Key: Neuromuscular Specificity
You're not just stretching—you're activating specific muscles your nervous system will need for the demands you're about to face. This is why the warm-up is personalized. A player with pristine ankles spending 6 minutes on ankle work is wasting time. A player with chronic ankle issues spending zero time on ankle work is asking for injury.
4. How to Identify Your Specific Needs
Get a movement assessment from a sports medicine provider or physical therapist. They should identify:
- Your movement asymmetries (does one ankle collapse inward more than the other?)
- Your strength imbalances (which leg is weaker? Which glute is underactive?)
- Your mobility restrictions (where is your movement limited?)
- Your past injury history (what's prone to re-injury?)
Once you know these, your warm-up becomes targeted and effective instead of generic and mediocre.
Bottom line: Your warm-up should be about you, not about what someone else does. Spend extra time on your weak links. Spend less time on areas where you're naturally strong. This is how elite athletes prepare—they know their body's specific demands and address them directly.
The Bottom Line
Your warm-up is an investment in your health and your performance. A proper 15-20 minute warm-up doesn't cost you anything except time—and yet it can be the difference between playing pain-free for years and dealing with nagging injuries.
The best players I've worked with—the ones at the national level, the ones playing into their 40s and 50s without injury—they all have this in common: they treat their warm-up with the same seriousness they treat their match.
Your body will thank you.
Your Warm-Up Needs to Be Built for Your Body — Not Someone Else's.
A movement assessment identifies your specific weak links — the patterns, restrictions, and asymmetries that generic warm-up advice can't address. If you're serious about staying healthy and performing at your best, that's where we start.
Request an Introduction